10 Easy Steps to Drawing a Mandala - A Beginner's Guide
Mandalas are trending all over the Internet. You have seen them, you have marveled at them, but wondered how they were drawn, right? Gorgeous circle-filled drawings that look impossible to the eye. Your eyes pop at the details and the designs the various artists come up with, and then you think, can I do something like that?
Well, that’s what I am here to tell you about; mandalas are actually pretty easy to draw. No hard and fast rule on how it should be, how simple or detailed, what patterns you use… absolutely none. It is really quite easy, and in a few easy steps, you can easily get around to drawing your very own Mandala.
So, What is Mandala?
The word, “Mandala” originates from Sanskrit, and loosely translated is a “circle”. When you look at the circle, it feels complete, isn’t it? Well, that’s what it is all about. Visually, the circle represents completeness. A typical mandala includes intricate designs, usually being symmetrical in nature. According to Wikipedia, a mandala is/has become a generic term for any diagram, chart or geometric pattern that represents the universe symbolically.
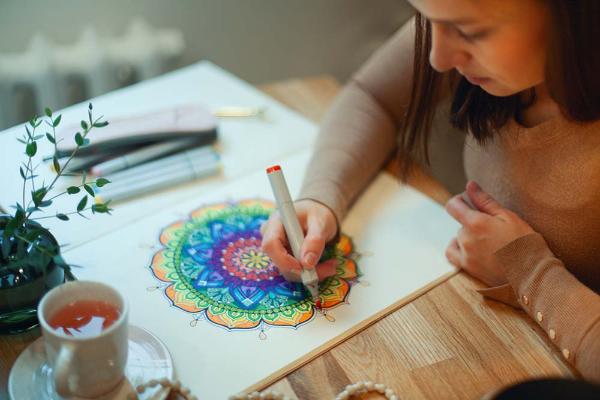
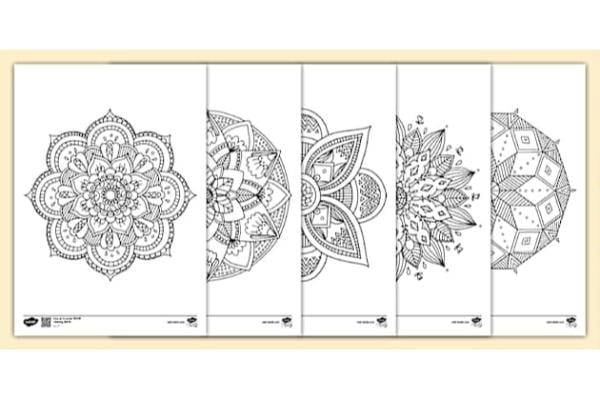
Off recently, mandalas and mandala coloring books have become very popular. Many consider drawing mandalas a meditative and relaxing process. Studies have proved that either drawing or coloring mandalas give great mental peace and a sense of calmness. So the next time you get stressed out and tired, take a sheet, grab a tool of choice and get drawing. You will feel really, really good after this exercise. Trust me, it works.
So, all excited to begin your first mandala? Here we go!
01. Essential Tools
Majorly, artists use the tools that they are comfortable with. Below are some of the handiest tools needed for this project.
Good quality drawing paper
Ruler
Compass (or any round objects to make the circles; like the ends of a cup, a bangle or packing/masking tape)
Pencil and Eraser
A Protractor (optional) (for divisions your guides)
Pens (for inking your final drawing; you can use any brand you want)
Color Pencils or Pens (if you want to color your final drawing)
A Good Scanner
Adobe Photoshop (or any other photo editing software to clean/edit your image)
02. The Process
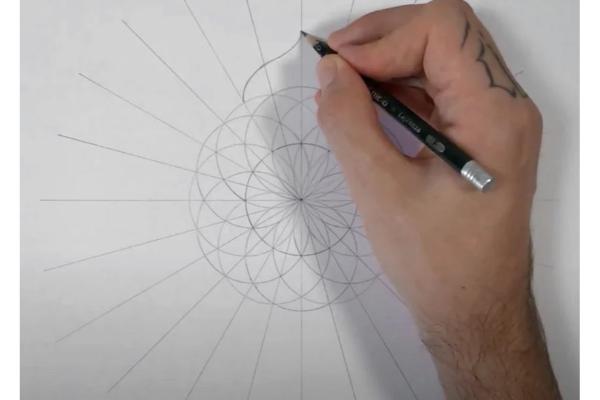
Step 1: Get Started
Mark a center point on your sheet, and use a compass to draw circles of varying sizes. You can also use some sort of round objects like glasses, tapes, etc. If you are really brave, go with a freehand circle. You can draw as many different sized circles as you want from that point.

Step 2: Guidelines
Draw 2 lines across the center point to give yourself the first guideline. Your circle is now divided into 4 quadrants. Next, use a protractor to create a division at 45 degrees in either quadrant. Join the points to divide the quadrant into more parts. You can divide it into more parts, if required, for more detailed drawings. Alternatively, you can use your compass to bisect the 90-degree lines then join the two points to obtain the same result.
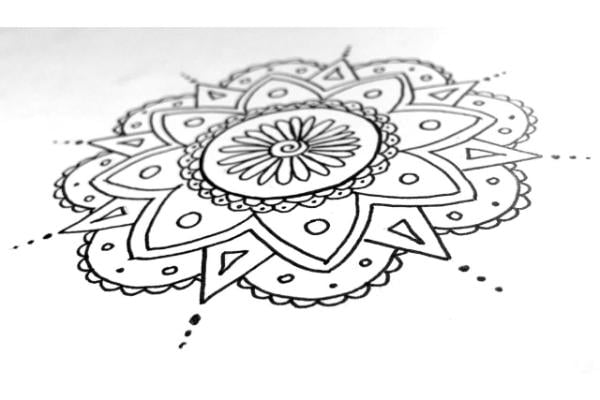
Step 3: Starting the Mandala
Start your drawing at the center. Use any simple shape to start off. I started out with simple teardrop shapes from the center. This gave me a small floral element in the first circle. Using the negative space in the circle, draw more simple shapes to complete the inner circle. You can use the same shape as used before or come up with something new.
Step 4: Building the Composition
Keep building up the drawing in the various circles. Use different shapes and patterns to come with the composition. I used a variety of circles and floral shapes to come up with the designs for the next few circles.
Step 5: Final Sketch
Keep adding shapes to your circle, depending on how many circles you drew in the initial stages. Don’t worry about perfection, or your lines going here and there. The main goal here is to get you relaxed with your drawing, not to make something perfect. You will reach there with more practice.
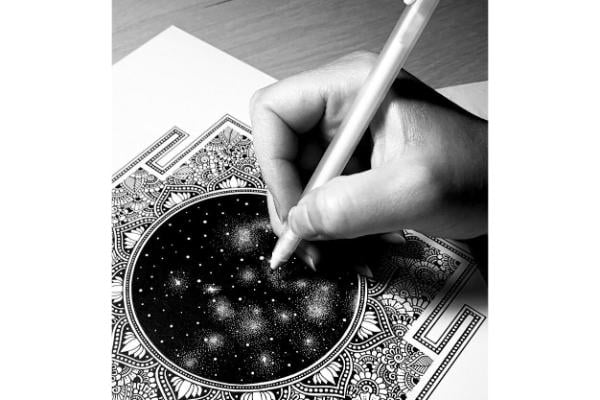
Step 6: Inking
Now if you drew the entire drawing in pencil as I did, then it is time to ink it. You can just redraw over your pencil lines, editing the drawing as you go on.
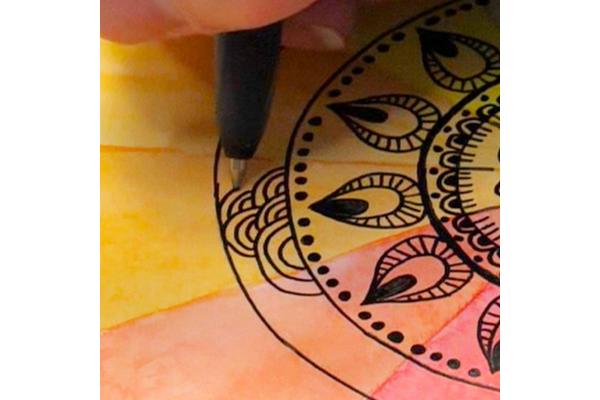
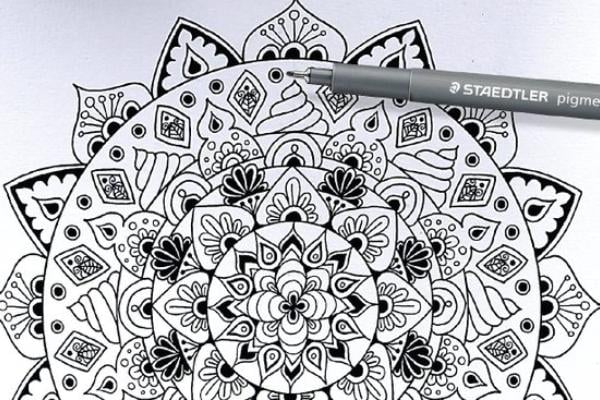
Step 7: Detailing
While drawing over with ink, you can stick to the same penciled lines and also add additional detail to the drawing. You can add more shapes into the drawing if you want something more complex or leave it just as it is.
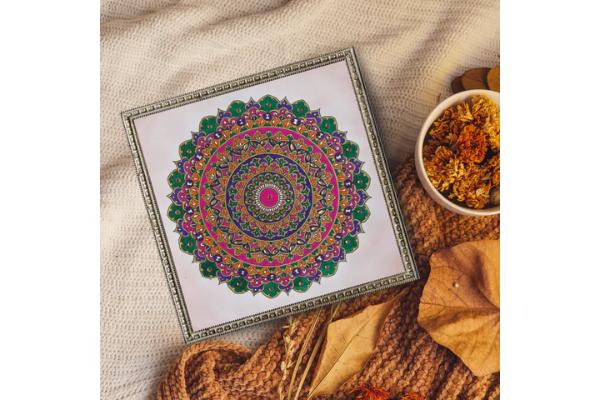
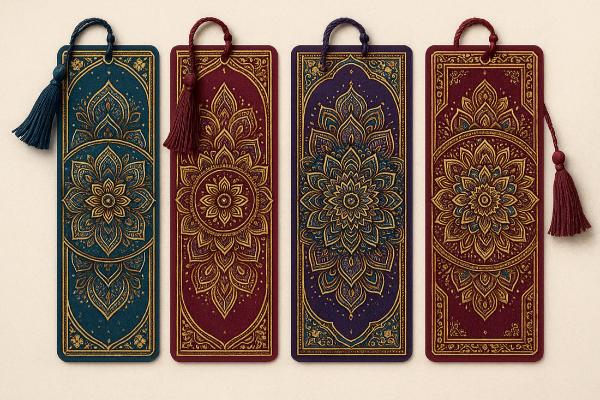
Step 8: The Completed Mandala
Yay! You have a completed Mandala with you. Erase all the pencil lines and voila, you have a simple mandala. I added a few more details to the drawing; you can add more too as you desire. Also, if you wish to color it with sketch pens or color pencils you are very much free to do so.
Step 9 - Digitization
Now you are ready to scan your drawing. Make sure you have erased all the lines out of your drawing. Scan it and load it into your system. Use any photo editing software to clean it up, edit or color the image. I used Adobe Photoshop to clean up the drawing and give it color. You can also use Adobe Illustrator if you want to trace your design and convert it into a vector ornament to use in your designs.
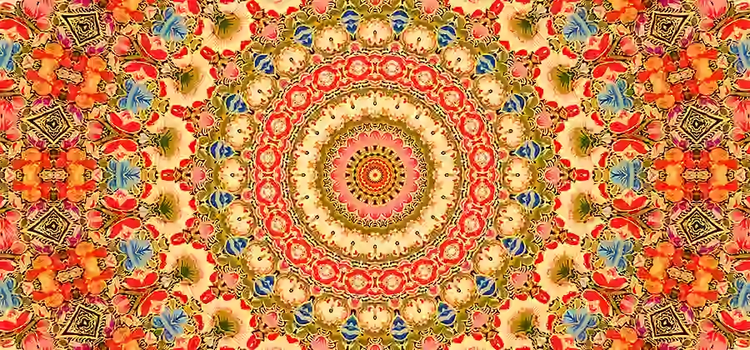
Step 10: Colouring your Mandala
Quick Mandalas
Conclusion
Need more ideas for drawing mandalas? Check out my other article on tips, inspiration and different styles of mandalas you can draw.
About Author

Swathi Kirthyvasan
Swathi is a Designer and lllustrator with a love for typography, patterns, illustration, and photography. Apart from working on client projects, and personal creative pursuits, she also writes design articles every now and then.